Using a Laser Level Receiver a Guide
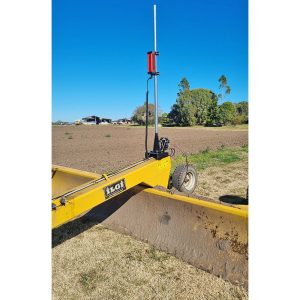
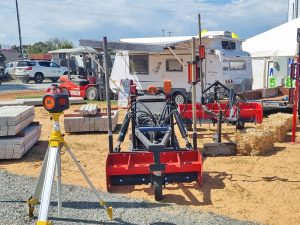
A guide to using a laser level receiver. An electronic laser receiver, both for rotating and pulsed line lasers, is most often used outdoors and attached to a staff using the receiver staff clamp.
What some may not fully realise is that laser receivers can be just as useful when hand held, particularly for interior jobs. Ideally, for internal fit out, lasers are used so you can visibly see a horizontal or vertical laser line. Sometimes either because of bright ambient lighting conditions or a large internal space they are not always easily visible. This is where using the receiver hand held comes into its own.
Depending on the laser your using these receivers can be used for either horizontal level or vertical alignment. This is achieved by holding the receiver in either upright for horizontal or on its side for vertical.
Tips for Using a Laser Receiver Hand Held
There are a couple of tricks you can employ when using a receiver hand held;
First of all most receivers have bubble vials built into them, one aligned for horizontal and one for vertical operation. Having the bubble central will help the accuracy of your levelling/alignment.
Secondly locate your laser in a position so that when you are holding the receiver you are not shadowing it from the laser output.
The third point is that most receivers have a handy notch on the housing which lines up with the level height. This notch is where you can mark off on a wall or post the level height when used horizontally, or vertical alignment point when used for vertical lines.


Finally some laser receivers have magnets built into the housing. These magnets allow the receiver to attach to steel surfaces either for horizontal or vertical operation. This feature is particularly useful for installation of suspended ceilings, pallet racking and other installation applications.

Have anything to add? or have a question? Feel free to add a comment below.
